
The complete guide to maintaining FaceFusion 3.5.2: from basic operation to professional tuning settings.
Among the AI face swapping tools, **’FaceFusion’** is currently the most developed and active.
Especially since version 3.5, the image quality and processing speed have improved significantly, but at the same time there are so many setting options that many people don’t know where to touch.
This article dissects all the features of FaceFusion 3.5.2 and asks **”How do I use the basics?” How can I improve image quality? What do I do if my hands or hair are obscured? “*** and more.
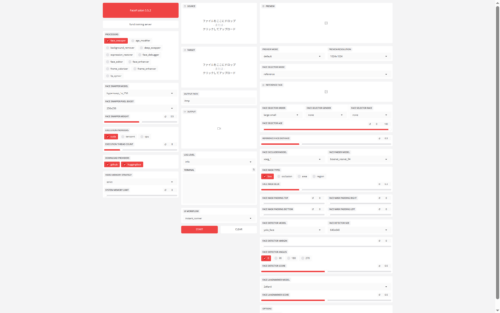
1. Screen structure and basic workflow
The FaceFusion user interface is divided into three main pillars. Let’s first understand the role of each column.
Left column: System Settings (What & How)
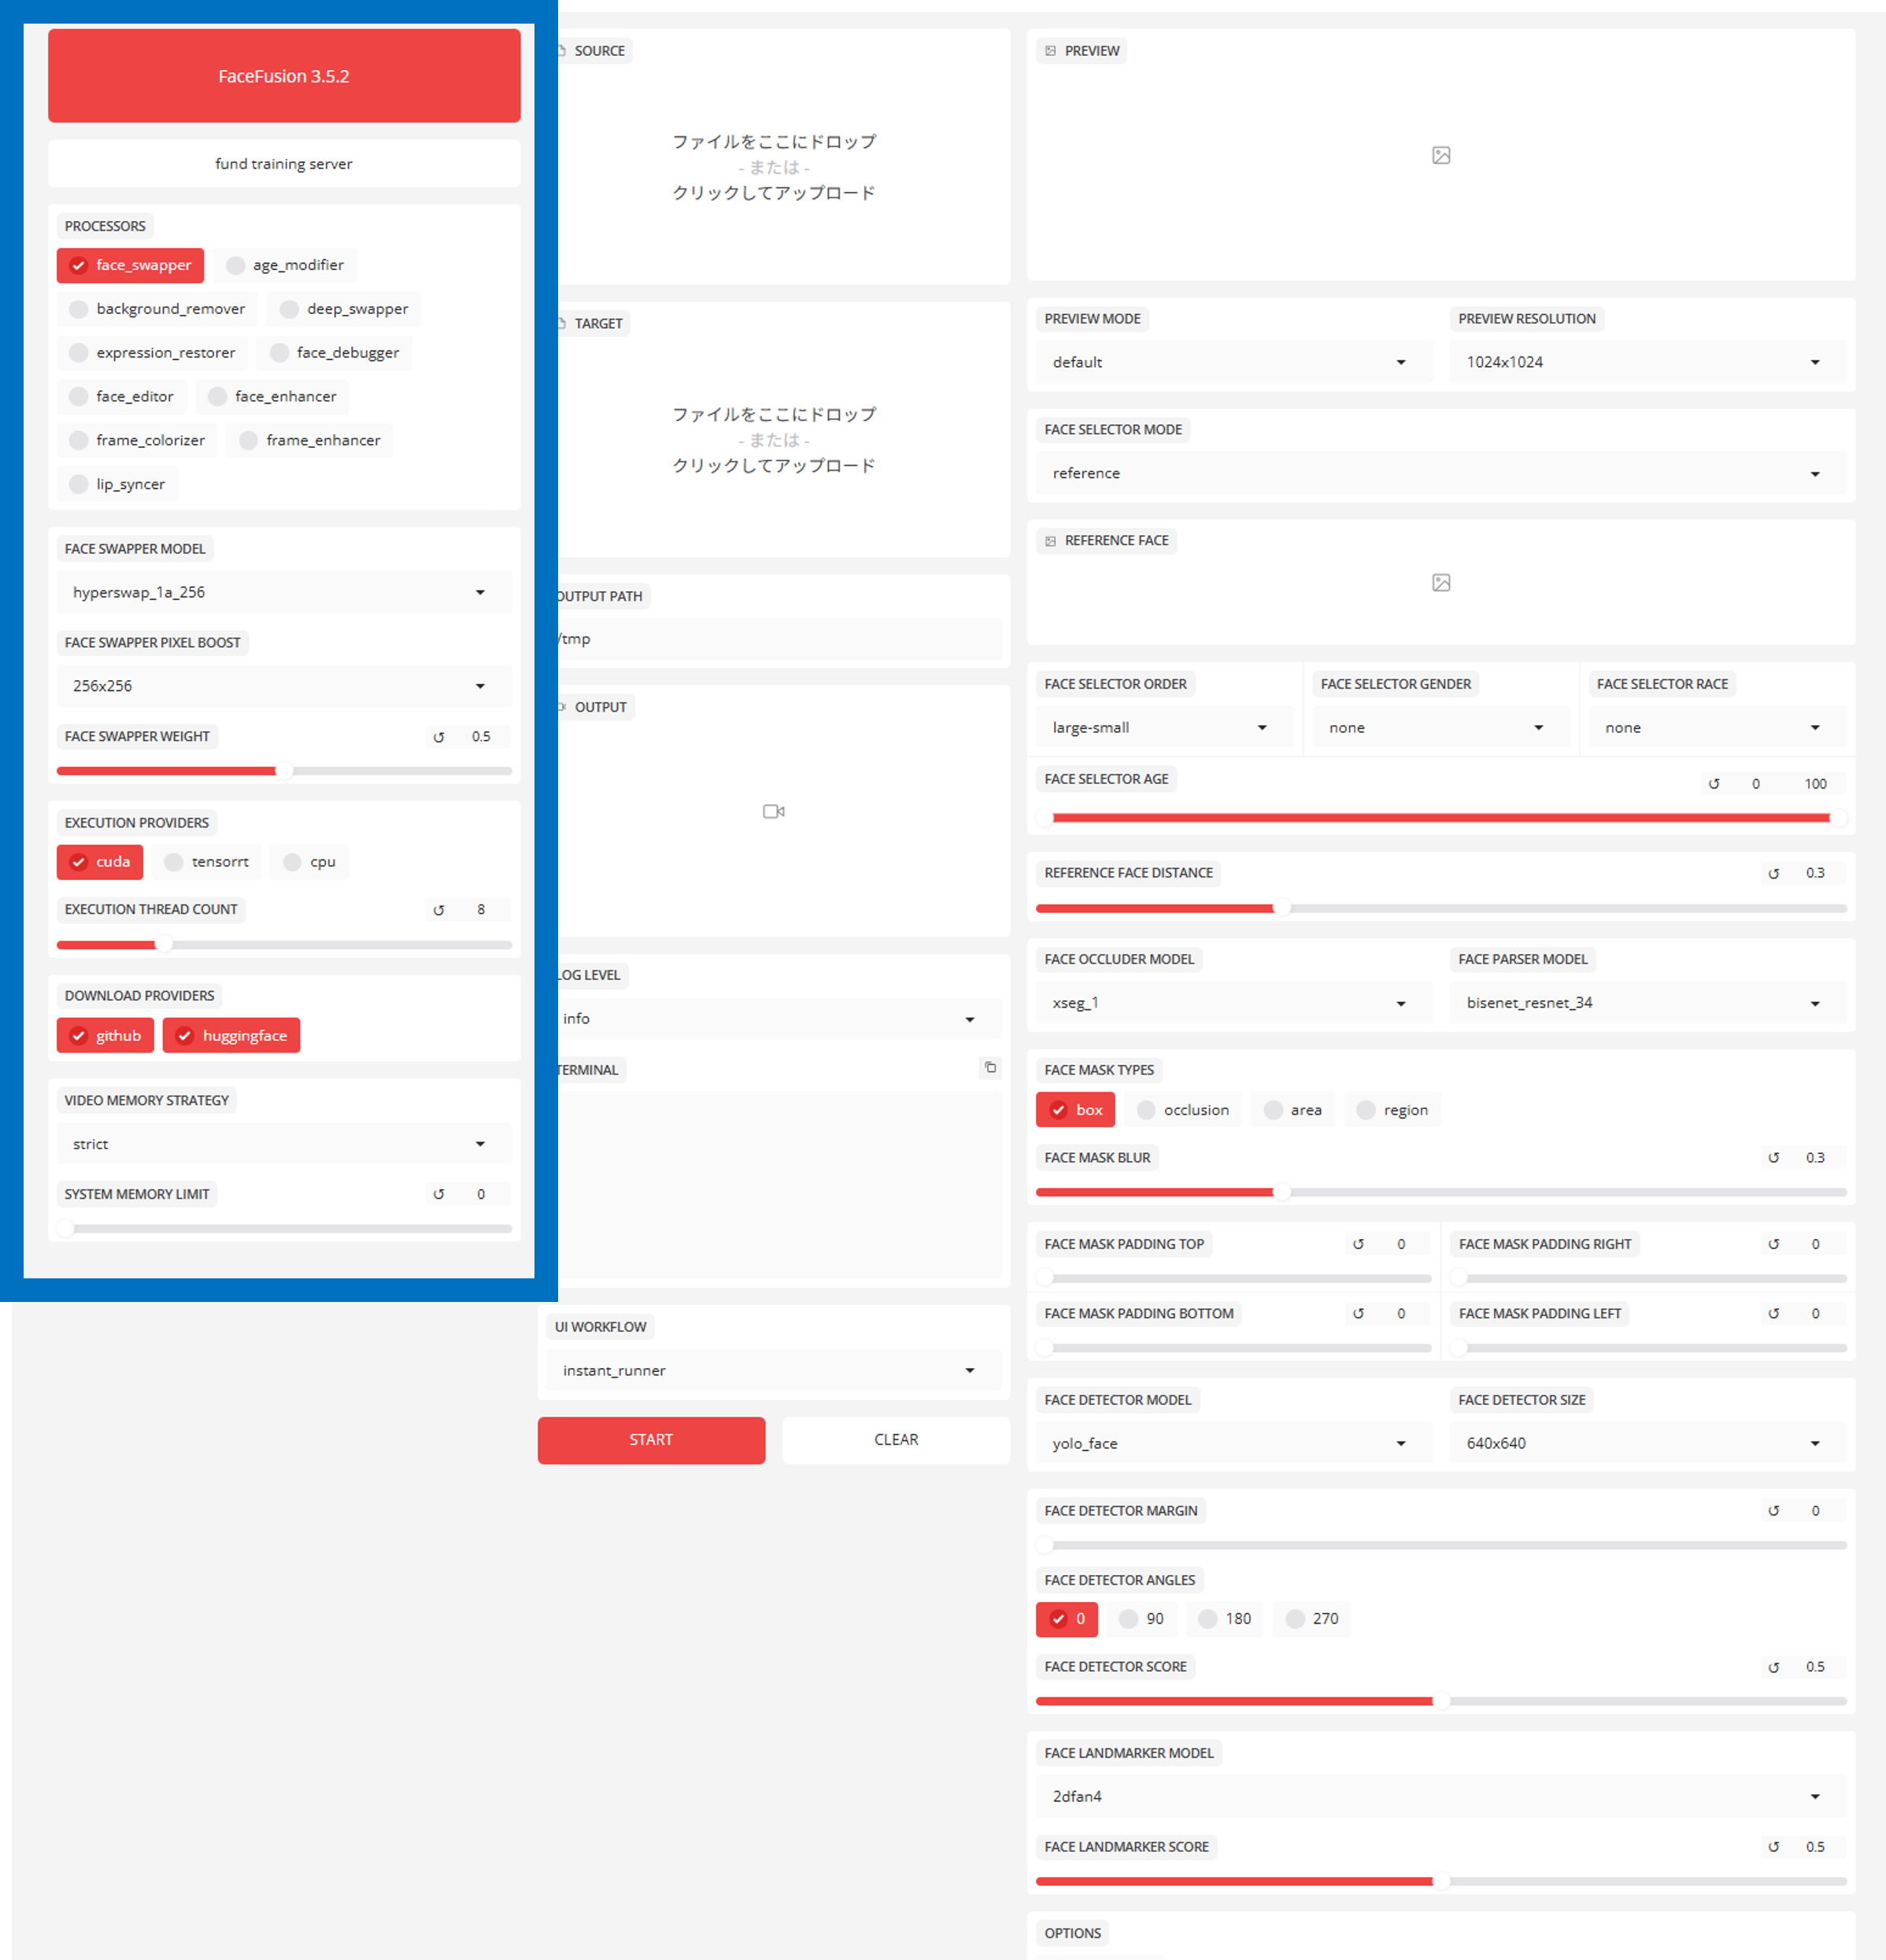
Decide what kind of processing you want to perform and what you want to use for calculations.
- PROCESSORS:
face_swapper(faceswapping) is basic. If you want to improve the image quality, useface_enhancer(face quality improvement), but it is important that you know how to use it (see below). - EXECUTION PROVIDERS: This is the most important, always select
**cuda**if you have an NVIDIA GPU – if you leave it atcpu, processing speed will be hopelessly slow.
Middle column: Material and execution (action)
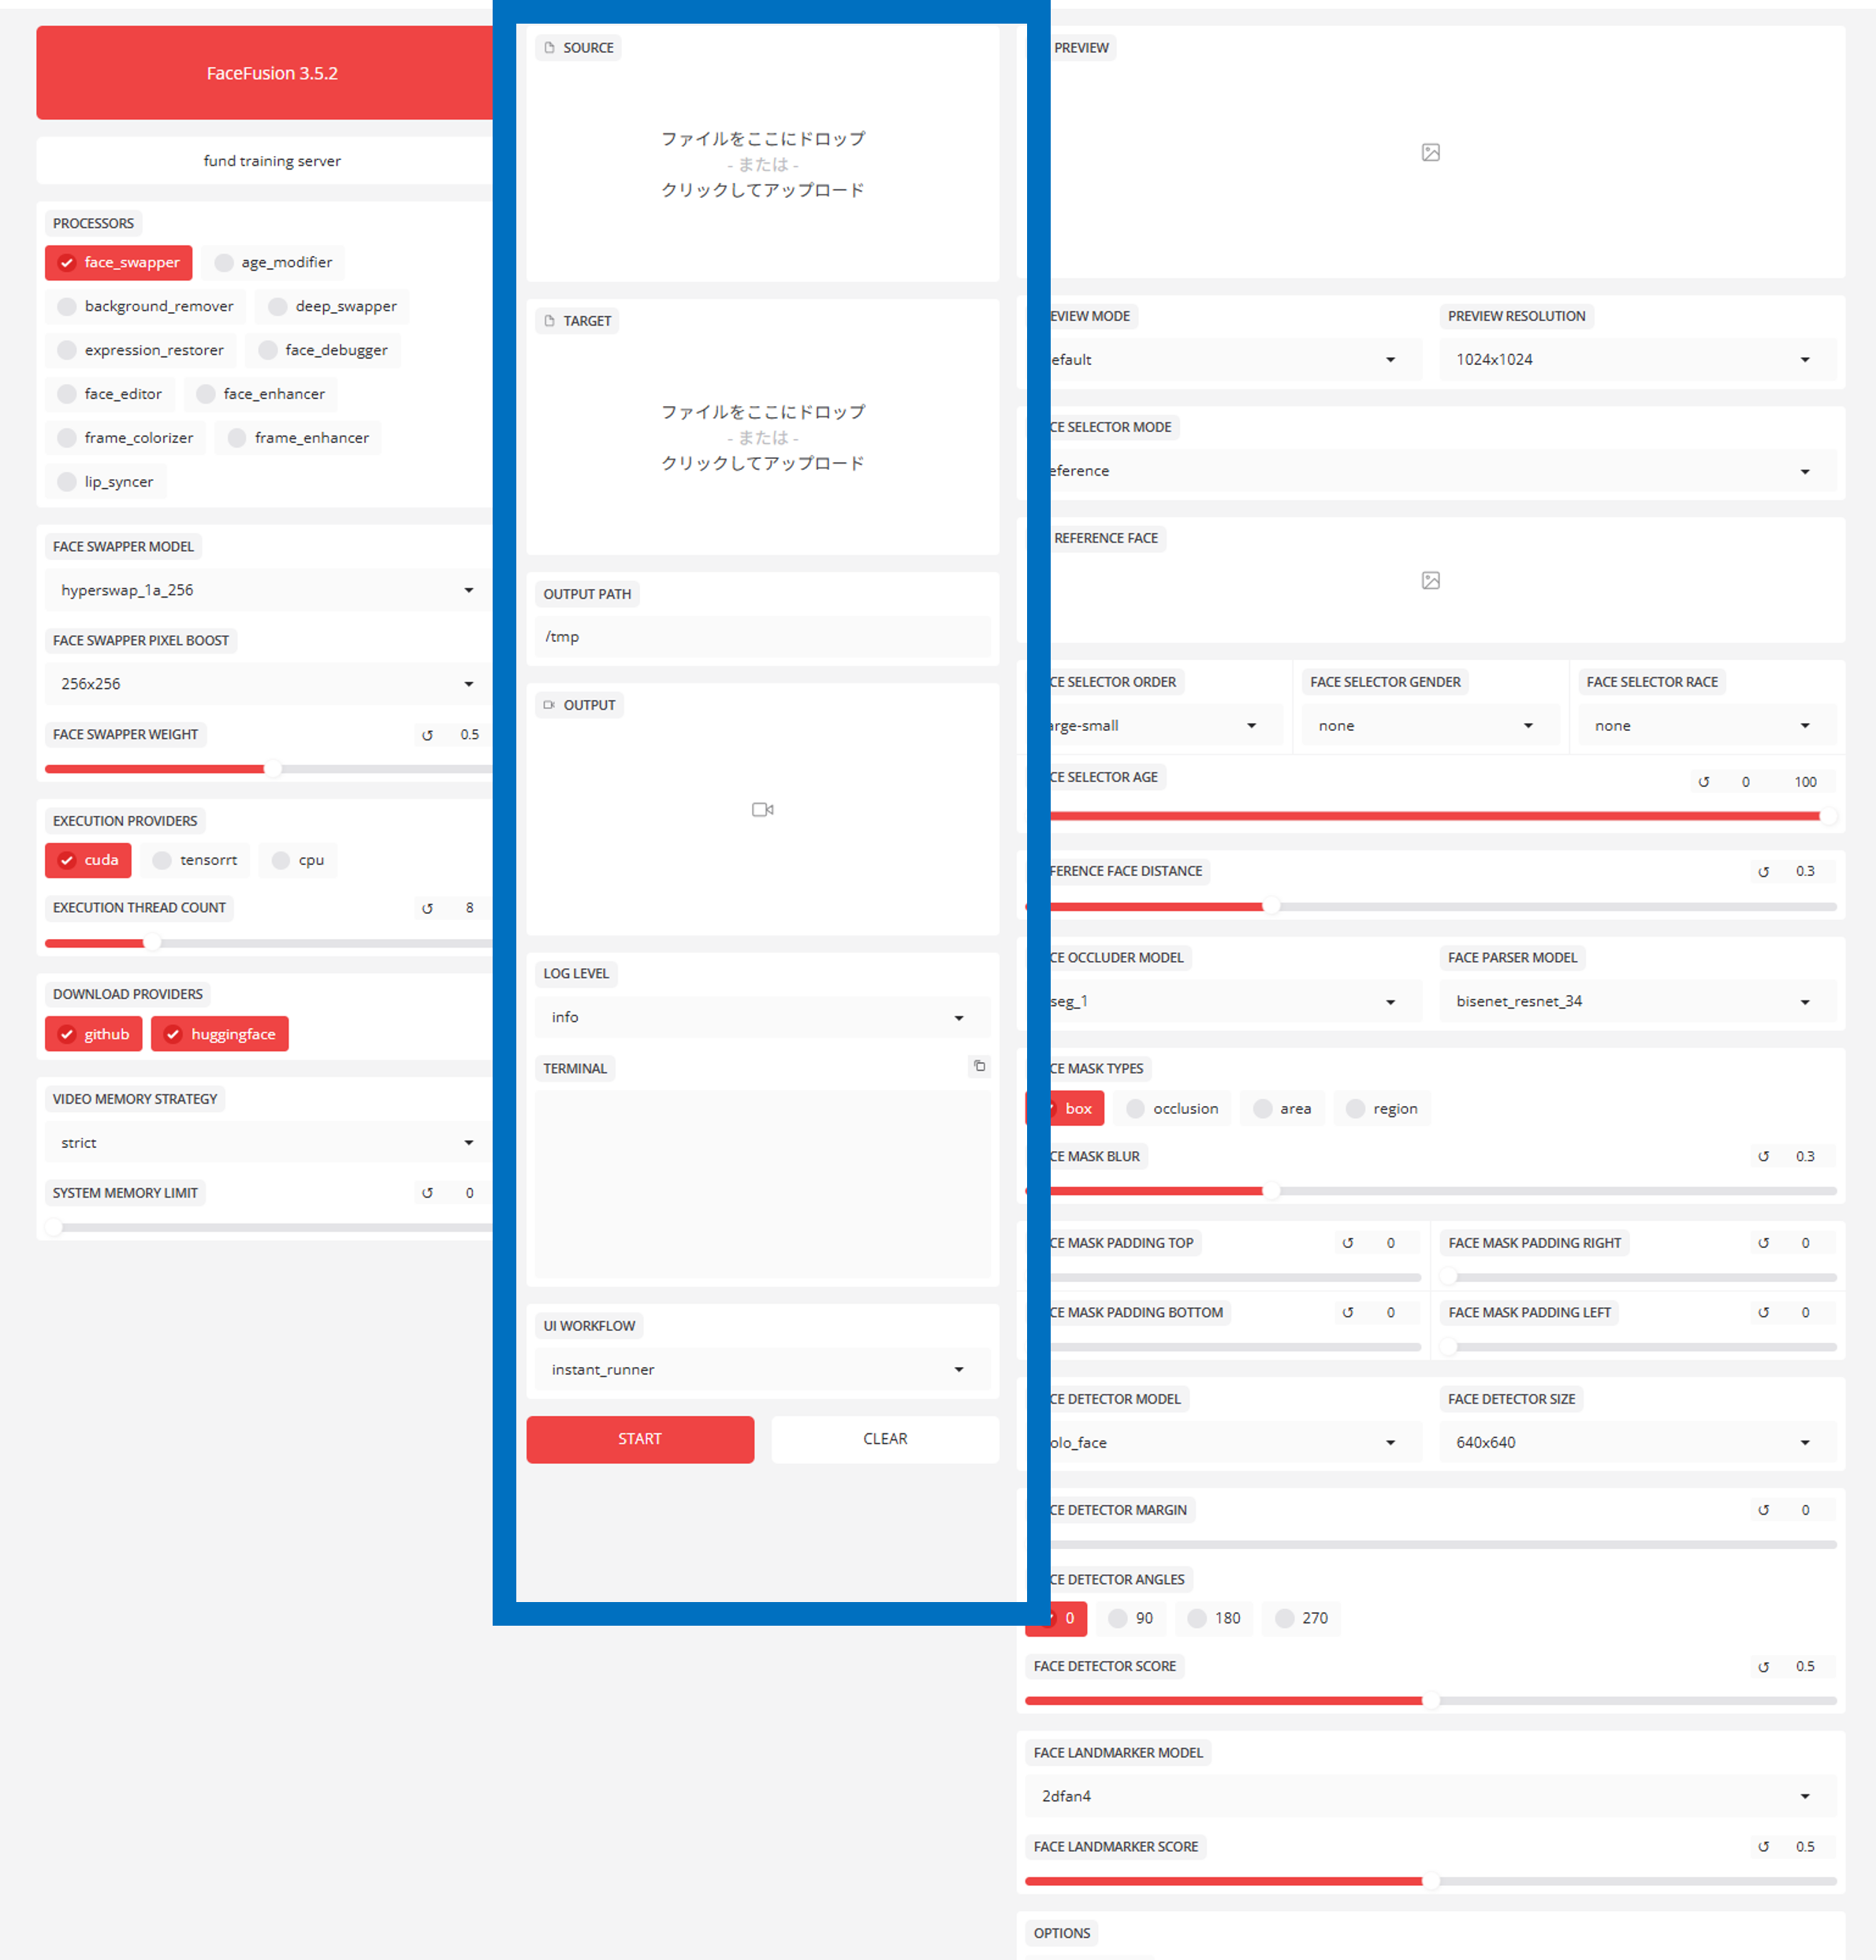
- SOURCE: Drag and drop the image of the face to be transplanted.
- DESTINATION: Drag and drop the “video/image to be transplanted”.
- START: Press here to start the export when all settings have been completed.
Right column: Detailed settings (fine-tuning).

Here you can put your skills to the test. In this area, you can fine-tune the “AI behavior”, e.g. the accuracy of face recognition, the mask area, the subject specification, etc. If the default settings do not work, you should start here.
2. Explanation of important parameters that influence quality
Selected parameters that can easily or effectively cause beginners to fail are explained here.
Settings that relate to the image quality
- FACE-SWAPPER MODEL:.
- Currently
**hyperswap_1a_256**is the default and strongest. This model is fast and has high face tracking performance.
- Currently
- FACE SWAPPER PIXEL BOOST:.
- This is the “internal resolution” of the AI processing.
- If you increase the resolution from 256×256 (default) to 512×512 or higher, the luminosity of the eyes and the skin texture will be significantly improved. However, the VRAM consumption and processing time will increase dramatically.
Settings for face recognition and detection

- FACE DETECTION MODEL:.
YOLO_FACE: Standard. Fast, but weak for small faces and profile faces.RETINAFACE: Recommended. The processing is complex, but captures faces in crowds and with intensive movements.
- TYPES OF FACE MASKS:.
Box: Composite with single square area. Susceptible to obstructions.CONCLUSION: Essential. When a hand or microphone comes in front of the face, he dodges them and composes.
3. Recipes for the best settings for different scenes.
This is a specific case study on the question, “How should I set it up if I want to make a video like this?” This is a specific case study on the question: “What settings should I use if I want to make a video like this?
Case A: I want to record a video in “ultra-high quality” like a movie scene.
This is a solution for cases where the default settings give the skin a flat, “AI” look.
- Turn off Face Enhancer: It may come as a surprise, but
face_enhancercan make skin look smooth by smashing the details. Dare to turn it off. - Increase Pixel Boost: Set
FACE SWAPPER PIXEL BOOSTto512x512or1024x1024. - Increase the detector: Change
FACE DETECTOR MODELtoRetinaface. - Sharpen the borders: Reduce
FACE MASK BLURto about0.1.
Case B: Hands or microphone cross in front of the face (occlusion)
Prevents the horror phenomenon of microphones and cups being composed on the face in singing and eating scenes.
- Change mask type: Change
FACE MASK TYPEStoocclusion. - Checkoccluder model: Make sure that
FACE OCCLUDER MODELisxseg-based. - Blur adjustment: Increase
FACE MASK BLURto about0.5to blur the borders.
Case C: “Face is out of place” during intense dancing or in profile.
This is a countermeasure for cases where the original face briefly returns to the original face in the middle of the video (flickering phenomenon).
- Change detector: Set
FACE DETECTOR MODELtoRetinaface. - Lower the criteria: Lower the
FACE DETECTOR SCOREfrom0.5to0.2-0.3, which is a command to “treat it as a face even if you are not sure”. - Relax the similarity criterion: Increase the
REFERENCE FACE SCOREfrom0.6to0.8. Follow this instruction even if the physiognomy in the profile changes.
Case D: “Lines” appear at the forehead hairline.
If the material and the target face shape do not match and unnatural edges appear on the forehead and chin.
- Extend with padding: Try increasing the value of
FACE MASK PADDING TOP(or BOTTOM) by0.05. This will extend the composite area. - Fade in with Enhancer: In this case, it is easier to fade in the skin color of the extended area when
face_enhanceris turned on.
4. Recommended workflow to avoid errors
Finally, a few steps to avoid errors and work more efficiently.
- Attack with preview: Start with
instant_runnermode and adjust theFACE DETECTOR SCOREandMASK PADDINGwhile previewing. - Check for occlusion: Move the search bar to the scene in the video where the hand is on the face and check that it is not interrupted. If not, switch to
occlusion mode. - Use strict mode in production: in a long export, crashing due to lack of VRAM is the biggest waste of time. Make sure you set VIDEO MEMORY STRATEGY to
Strictin the left column before pressingSTART.
Depending on the settings, FaceFusion can increase the quality of the image from “very AI” to “indistinguishable from live action”. Please read this parameter explanation to find the best setting.
Appendix] FaceFusion 3.5.2 Complete reference of all parameters and functions
This section explains the role and technical meaning of all elements displayed in the user interface. Please use it as a dictionary if you are unsure about a setting.
1. Left column: System processor settings
This is the area where the “content” and “basis” of the processing are defined.
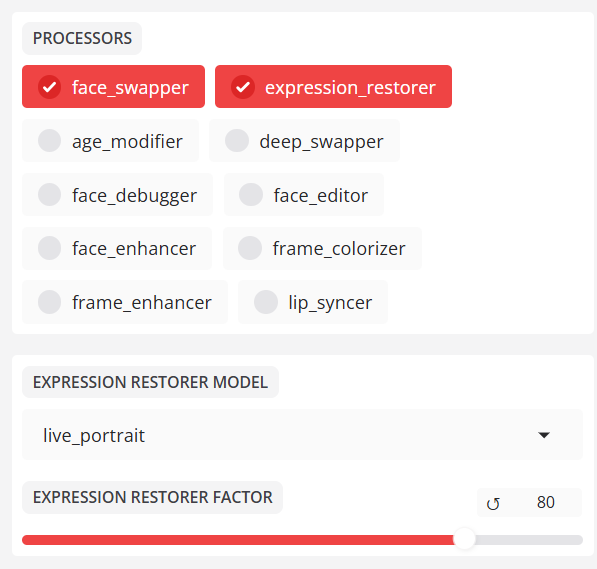
PROCESSORS (processing modules)
Application in the selected order (internal processing order).
- face_swapper: Main function of the face swap. Transfers the source face to the target.
- background_remover: Removes (makes transparent) the background.
- expression_restorer: Restores fine facial expressions (wrinkles, muscle movements) that are often lost when swapping faces.
- face_debugger: visualizes and displays the face recognition frame, the landmarks and the mask area (for testing).
- face_editor: for manual adjustment of certain areas of the face.
- face_enhancer: high image quality enhancement (upscaler) especially for facial areas. Restores blurred faces.
- frame_colourizer: Colourization of black and white film material.
- frame_enhancer: High-quality image enhancement of the entire screen including the background (very intensive processing).
- lip_syncer: generates mouth movements that match the audio file (lip synchronization).
- age_modifier: experimental function for manipulating age (rejuvenation/ageing).
FACE SWAPPER MODEL.
- hyperswap_1a_256: latest standard. High speed, high resolution and high stability.
- inswapper_128_fp16: Older standard. High creativity, but low resolution.
- simswap_*: strong at certain viewing angles, but possibly not versatile enough.
- blendswap: focus on synthetic familiarity; ID (identity) fades.
FACE SWAPPER PIXEL BOOST.
Virtual resolution with which the AI generates faces.
- 256×256: Standard.
- 512×512: High quality. Required for close-ups.
- 1024×1024: Super high quality (VRAM required).
FACE-SWAPPER WEIGHT
- 0. 0 – 1.0: Strength of the application. If the strength is lowered, the original face shines through.
EXECUTION PROVIDER.
Hardware used for processing.
- cuda: NVIDIA GPU (recommended and fastest).
- cpu: CPU processing (very slow).
- coreml: for Mac (Apple Silicon).
VIDEO MEMORY STRATEGY
- strict: strict VRAM management to avoid errors (recommended).
- moderate / tolerant: speed priority setting to use the memory to the limit.
2. Central column: Execution / Workflow.
Material input and export control.
- SOURCE: ‘Provide face’ image.
- DESTINATION: Target image or video for face replacement.
- OUTPUT PATH / OUTPUT: Target and preview screen.
- UI WORKFLOW:.
INSTANT_RUNNER: Immediate update of the preview for each operation.JOB_RUNNER: Batch mode for loading tasks and batch processing.
- LOG LEVEL:
Info(normal),Debug(for detailed and error analysis).
3. Right column: advanced settings (recognition, masking, sorting).
This is a professional area for fine-tuning the behavior of the AI.
PREVIEW settings
- PREVIEW RESOLUTION: Quality of the preview image, can be reduced if the PC is heavy (has no influence on the production output).
FACE SELECTOR MODE (target setting)
- Reference: Change the person who resembles the face specified in ‘REFERENCE FACE’.
- one: only one person is recognized first.
- many / all: Changes all persons on the screen.
REFERENCE FACE.
- Thumbnail of the face recognized in the target video. Click here to fix the exchange target.
FACE SELECTION SEQUENCE
- large-small: Processes the faces in the order of their size (closest to the camera).
- left-right: Processes from left to right.
DISTANCE OF THE REFERENCE AREA
- 0. 0 – 1.5: “Looseness” of the identification.
- Lower (e.g. 0.4): stricter. Less likely to include other people.
- Higher (e.g. 0.8): looser. Follows changes in the face due to make-up or lighting.
FACE CONCEALER MODEL
- xseg_*: High-performance model for detecting obstacles (hands, hair, etc.) in front of the face.
FACE MASK TYPES
- box: Composite within a rectangular area.
- OCLUSION: Composite without obstacles (recommended).
- REGION: Composite according to parts such as eyes and mouth.
FACE MASK BLUR
- 0. 0 – 1.0: Amount of blurring of the composite border. Default is 0.3.
FACE MASK PADDING (Top/Bottom/Right/Left)
- Extends the area of the face section (section frame) vertically and horizontally. Used when the forehead and jawline do not match.
FACE DETECTOR MODEL.
- YOLO_FACE: standard, high speed.
- retinaface: high accuracy, low speed. Strong for profiles and very small faces.
FACE DETECTOR SCORE
- 0. 0 – 1.0: Confidence threshold for “face detection”.
- Lower if the face is not recognized. Increased if false-positive faces are recognized.
FACE LANDMARK MODEL
- 2dfan4: Model for determining the coordinates of the eyes, nose and mouth. Normally no change is required.